
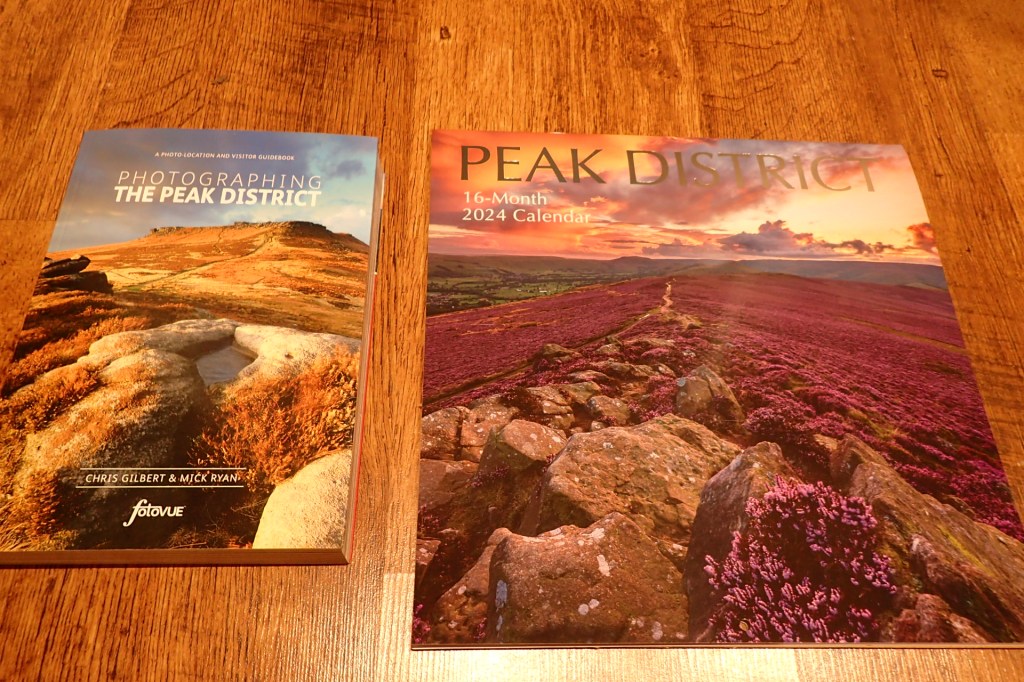
I’m making a calendar at the minute, and one of the images I want to capture and include is a sunrise shot. So, how do you do it? What goes into the planning, and then the hiking to location?
Planning the shot:
With any creative, artistic activity (photography included), it always pays to do a little research and see what has already been done. In other words, which viewpoints look great at sunrise? You might get lucky on a walk you have planned with the right conditions and position to take a great sunrise shot, no planning needed. But let’s admit, that doesn’t happen that frequently. I’m a regular walker (every weekend) and I’ve only seen a handful of sunrises; that includes the times I’ve been wild camping.
One way you can plan is by looking at existing calendars, such as the one I was recently given (below); another is by looking at magazines and doing simple online searches for Peak District sunrises on Instagram etc to see where others have been. Becoming familiar with those locations might be a good start. Another great option, the one I have favoured, is more structured and informative (but not better or worse) and it is flicking through the Fotovue guidebook to the Peak District.
When you have a specific location in mind, you can plan the shot. For me, this includes doing a broad daylight pre-walk. Check out the spot and the paths you might take. How much time does it take you? Are there any other interesting features that you can take aside from the main viewpoint? Early morning light can radically change even the most average looking path.
You want to finish your scouting and inspection walk with full certainty of the route you will take on the morning, where you can sit to get a great shot, and a list of some promising locations nearby. You will also know how much time you’ll need from arriving at the start of the walk to getting to the viewpoints.
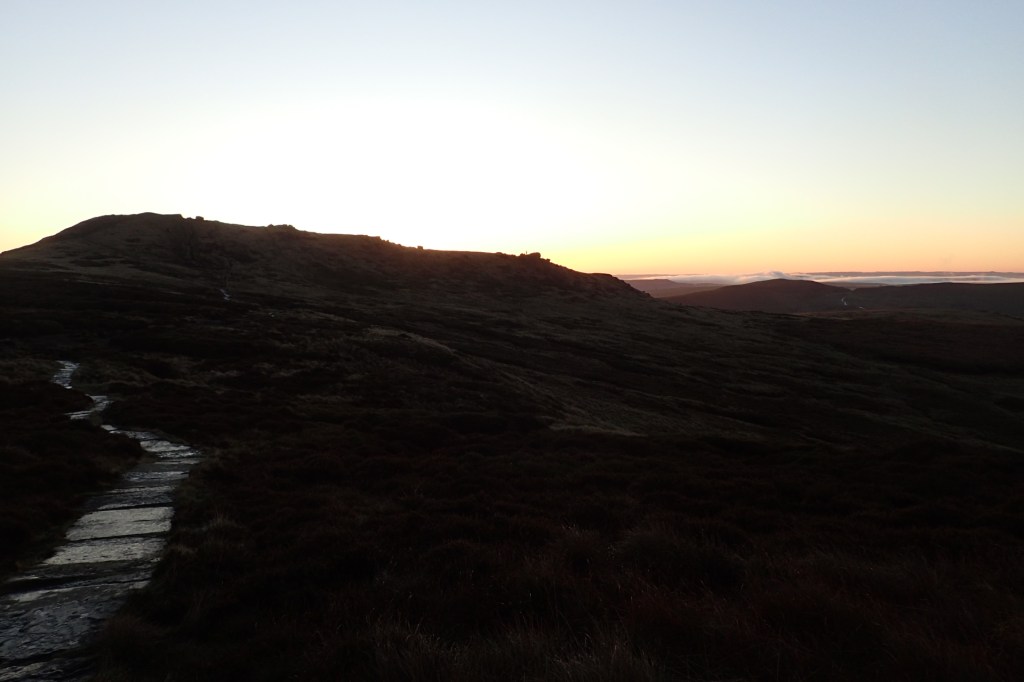
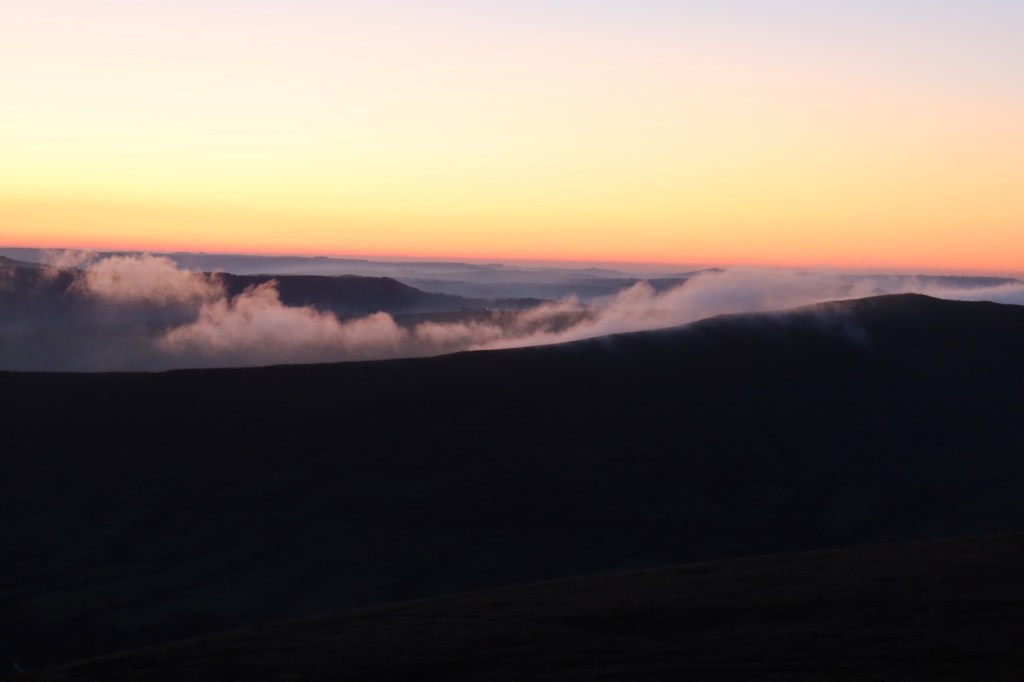
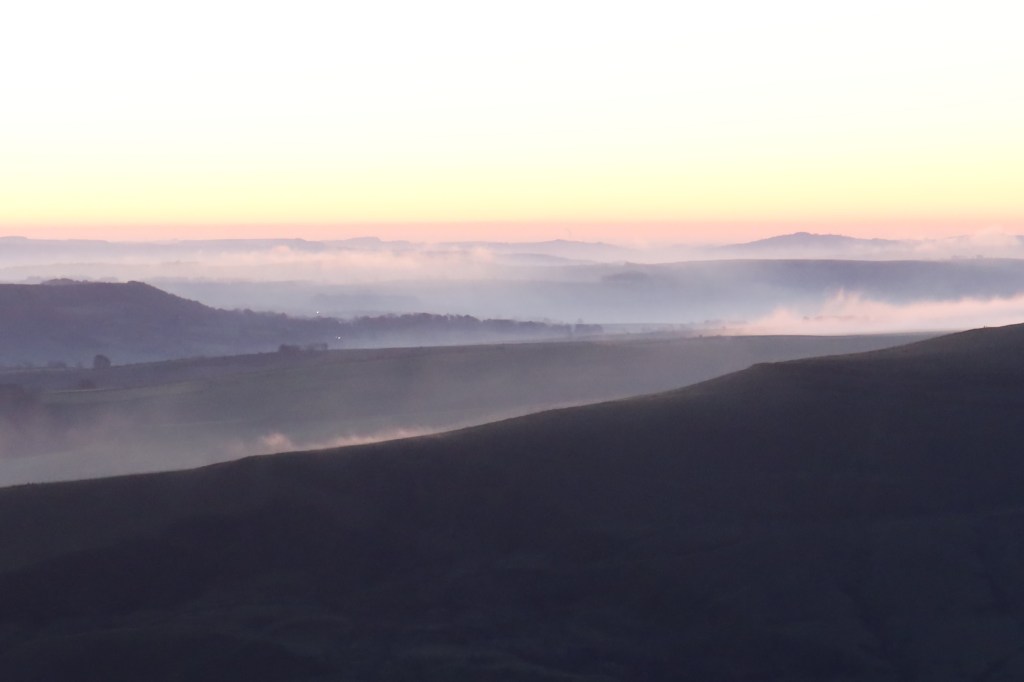
I decided on Grindslow Knoll for my shot as the hike up from Edale is relatively quick (took 50 minutes), the path is easy to follow and doesn’t disturb any livestock or houses, provides a superb shot over the Vale of Edale and is part of a great little circular route covering the plateau and a return to Edale on the Pennine Way. It’s all a very easy morning. The location is mentioned in the research I had done so I knew it was quality enough to be worth my time.
Getting the shot:
Two phrases leap to mind with this stage. The first is ‘the early bird catches the worm’. The second is ‘the devil is in the detail’.
I had learned from looking at the Met Office website that sunrise was at 0725. I wanted to be in position from 0700 to 0800, to get the full ‘golden hour’ of light. Before we get on to the finer practicalities, let’s work out the timing just to be in with a chance. From near Bradford, it would take me 2 hours to get to Edale via Glossop and the Snake Pass, plus an hours’ walk. Three hours total. Sunrise at roughly 0730 means setting off at 0430 latest. If I want to be there for 0700, it means a 4am departure. Which in turn means a 3.15 alarm (I’m always much slower in the early hours as my brain is not fully rested).
You could, of course, camp. I will discuss that in a future blog post.
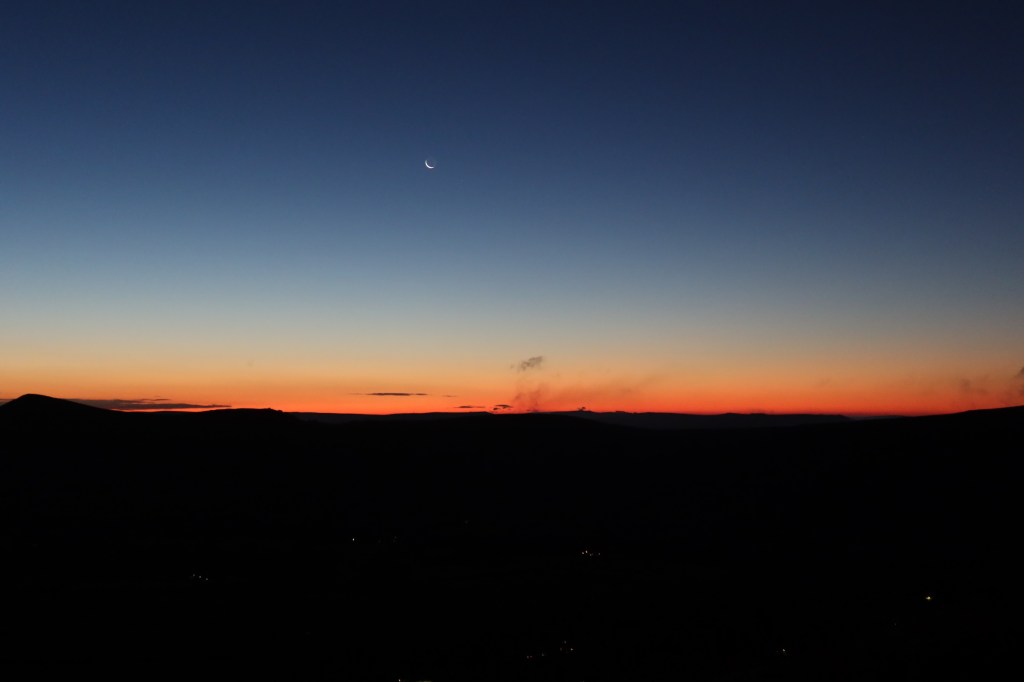
OK, so you’ve figured out the major logistics. The forecast is critical – you want something with clear night skies, low wind speed, and a full series of sunshine images for the following day. A glance at the synoptics should show a high pressure weather system. Between October and March, that often means a very cold night. The higher you go, the colder it gets. There was a thin rime of black ice over the gritstone paving flags when I was there on Saturday morning. It was minus 1. Not that cold really, but cold enough to cause a slip and an injury on remote ground.
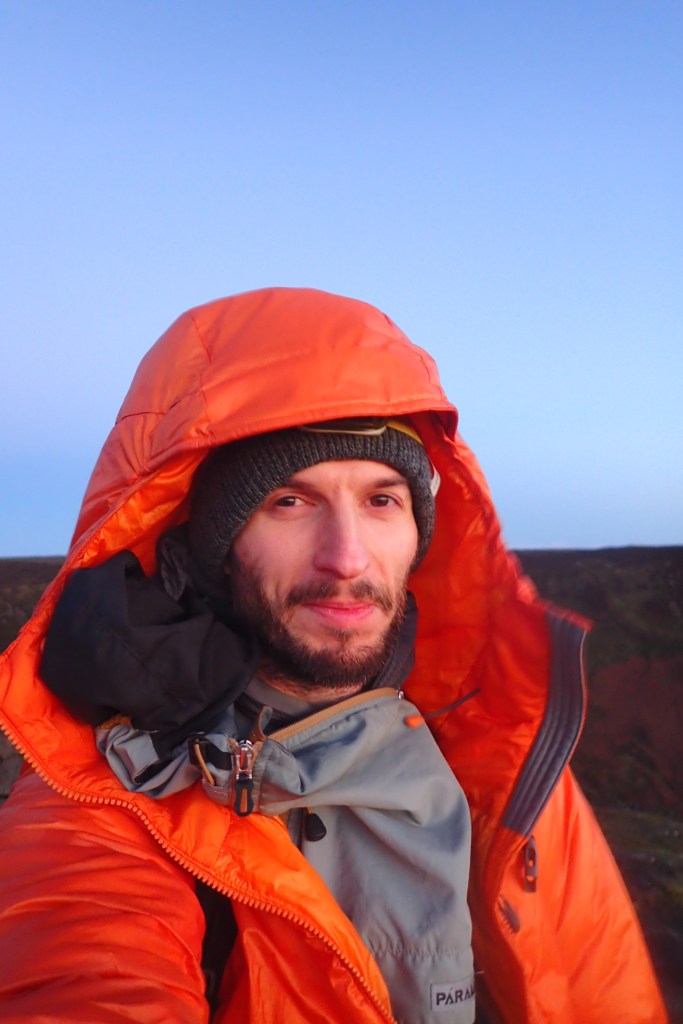
So you imagine setting off, driving, arriving, hiking in, and then what? Well, you have to stay warm so a massive down jacket is required (photo below) and the cold will impact your camera batteries. I took two handheld compact cameras with a total of 3 batteries between them. One of them lasted 20 minutes and then gave up. That was before the sun came up!
Having food that will appeal to you in the early morning is a good bet, plus some hot drinks. I don’t have a flask yet (shocking I know) but if I did, I would have one full of coffee and the other full of hot chocolate. The sugar will keep you high on energy and stop you from falling asleep when waiting for the sun to appear. I take chewy dried apple pieces, Cadbury’s miniature heroes, mixed nuts and raisins, and a piece of malt loaf.
Take a ton of warm clothing – loads of hats and gloves, hand warmers and a head torch with spare batteries. I have had experiences where my fingers became so numb on a winter shoot that I could no longer operate the camera. I only just made it to the safety of the car by fumbling with my elbow on the car security fob.
It might go without saying, but anyway – you should know your camera settings well enough to be confident in operating it quickly and efficiently to capture the best light. I had to shoot these images on auto mode because every other mode wouldn’t focus properly. Some of the auto attempts resulted in a blur. Patience is required to push the kit past its normal design limits. A compact camera is not intended as the tool of a professional sunrise photographer!
Carry multiple memory cards. I rarely use all the card space but I have three in total, interchangeable between cameras. If you have a camera with a fully manual focusing system then definitely use a tripod with a level gauge and set a timer after focusing to pin-sharp perfection. The images will be the best you can take.
This is just the tip of a huge landscape photography iceberg. So much more to learn – only by getting out there do you figure out what works best for you but I hope some of these tips help you to get your first shots.

Leave a comment